
Bath bombs are one of the most satisfying DIY bath and body products to make. They’re colorful, fragrant, and fun—but they’re also one of the most sensitive formulas in the entire handmade space. If you’ve ever had bath bombs crumble apart, crack in the mold, or expand unexpectedly, you’re not alone. The truth is, bath bomb creation is not about complexity—it’s about balance.
Once you understand how that balance works, everything becomes easier, more consistent, and far more scalable.
It All Comes Down to Balance
Every bath bomb recipe lives in a very small window of success.
Too much dry ingredient → your mixture falls apart.
Too much wet ingredient → your bath bomb activates too early or breaks in the mold.
The goal is to find that perfect middle ground where everything holds together just enough to form a solid shape.
Think of it as:
structure vs. activation control
When those two are balanced correctly, you get smooth, hard, reliable bath bombs every time.
Why Your Bath Bombs Are Falling Apart
One of the most common issues makers run into is crumbling. If your bath bombs are breaking apart, it usually means your mixture is too dry.
Signs your mixture is too dry:
- It feels powdery or sandy
- It won’t hold shape when squeezed
- It cracks when coming out of the mold
How to fix it:
Add small amounts of wet ingredients or binding agents slowly and evenly. The key is control—too much liquid at once can throw off the entire batch. You want the texture to feel like damp sand that just holds together when pressed.
Why Your Bath Bombs Are Expanding or Breaking in the Mold
On the opposite side of the problem is too much moisture.
When your mixture is too wet, it can start reacting before it even fully sets.
Signs your mixture is too wet:
- Expands or bulges in the mold
- Cracks after being removed
- Feels sticky or overly soft
How to fix it:
Slowly add more dry ingredients to rebalance the formula. Always adjust in small increments—bath bomb mixtures are extremely sensitive. A little too much moisture can completely change the outcome of your batch.
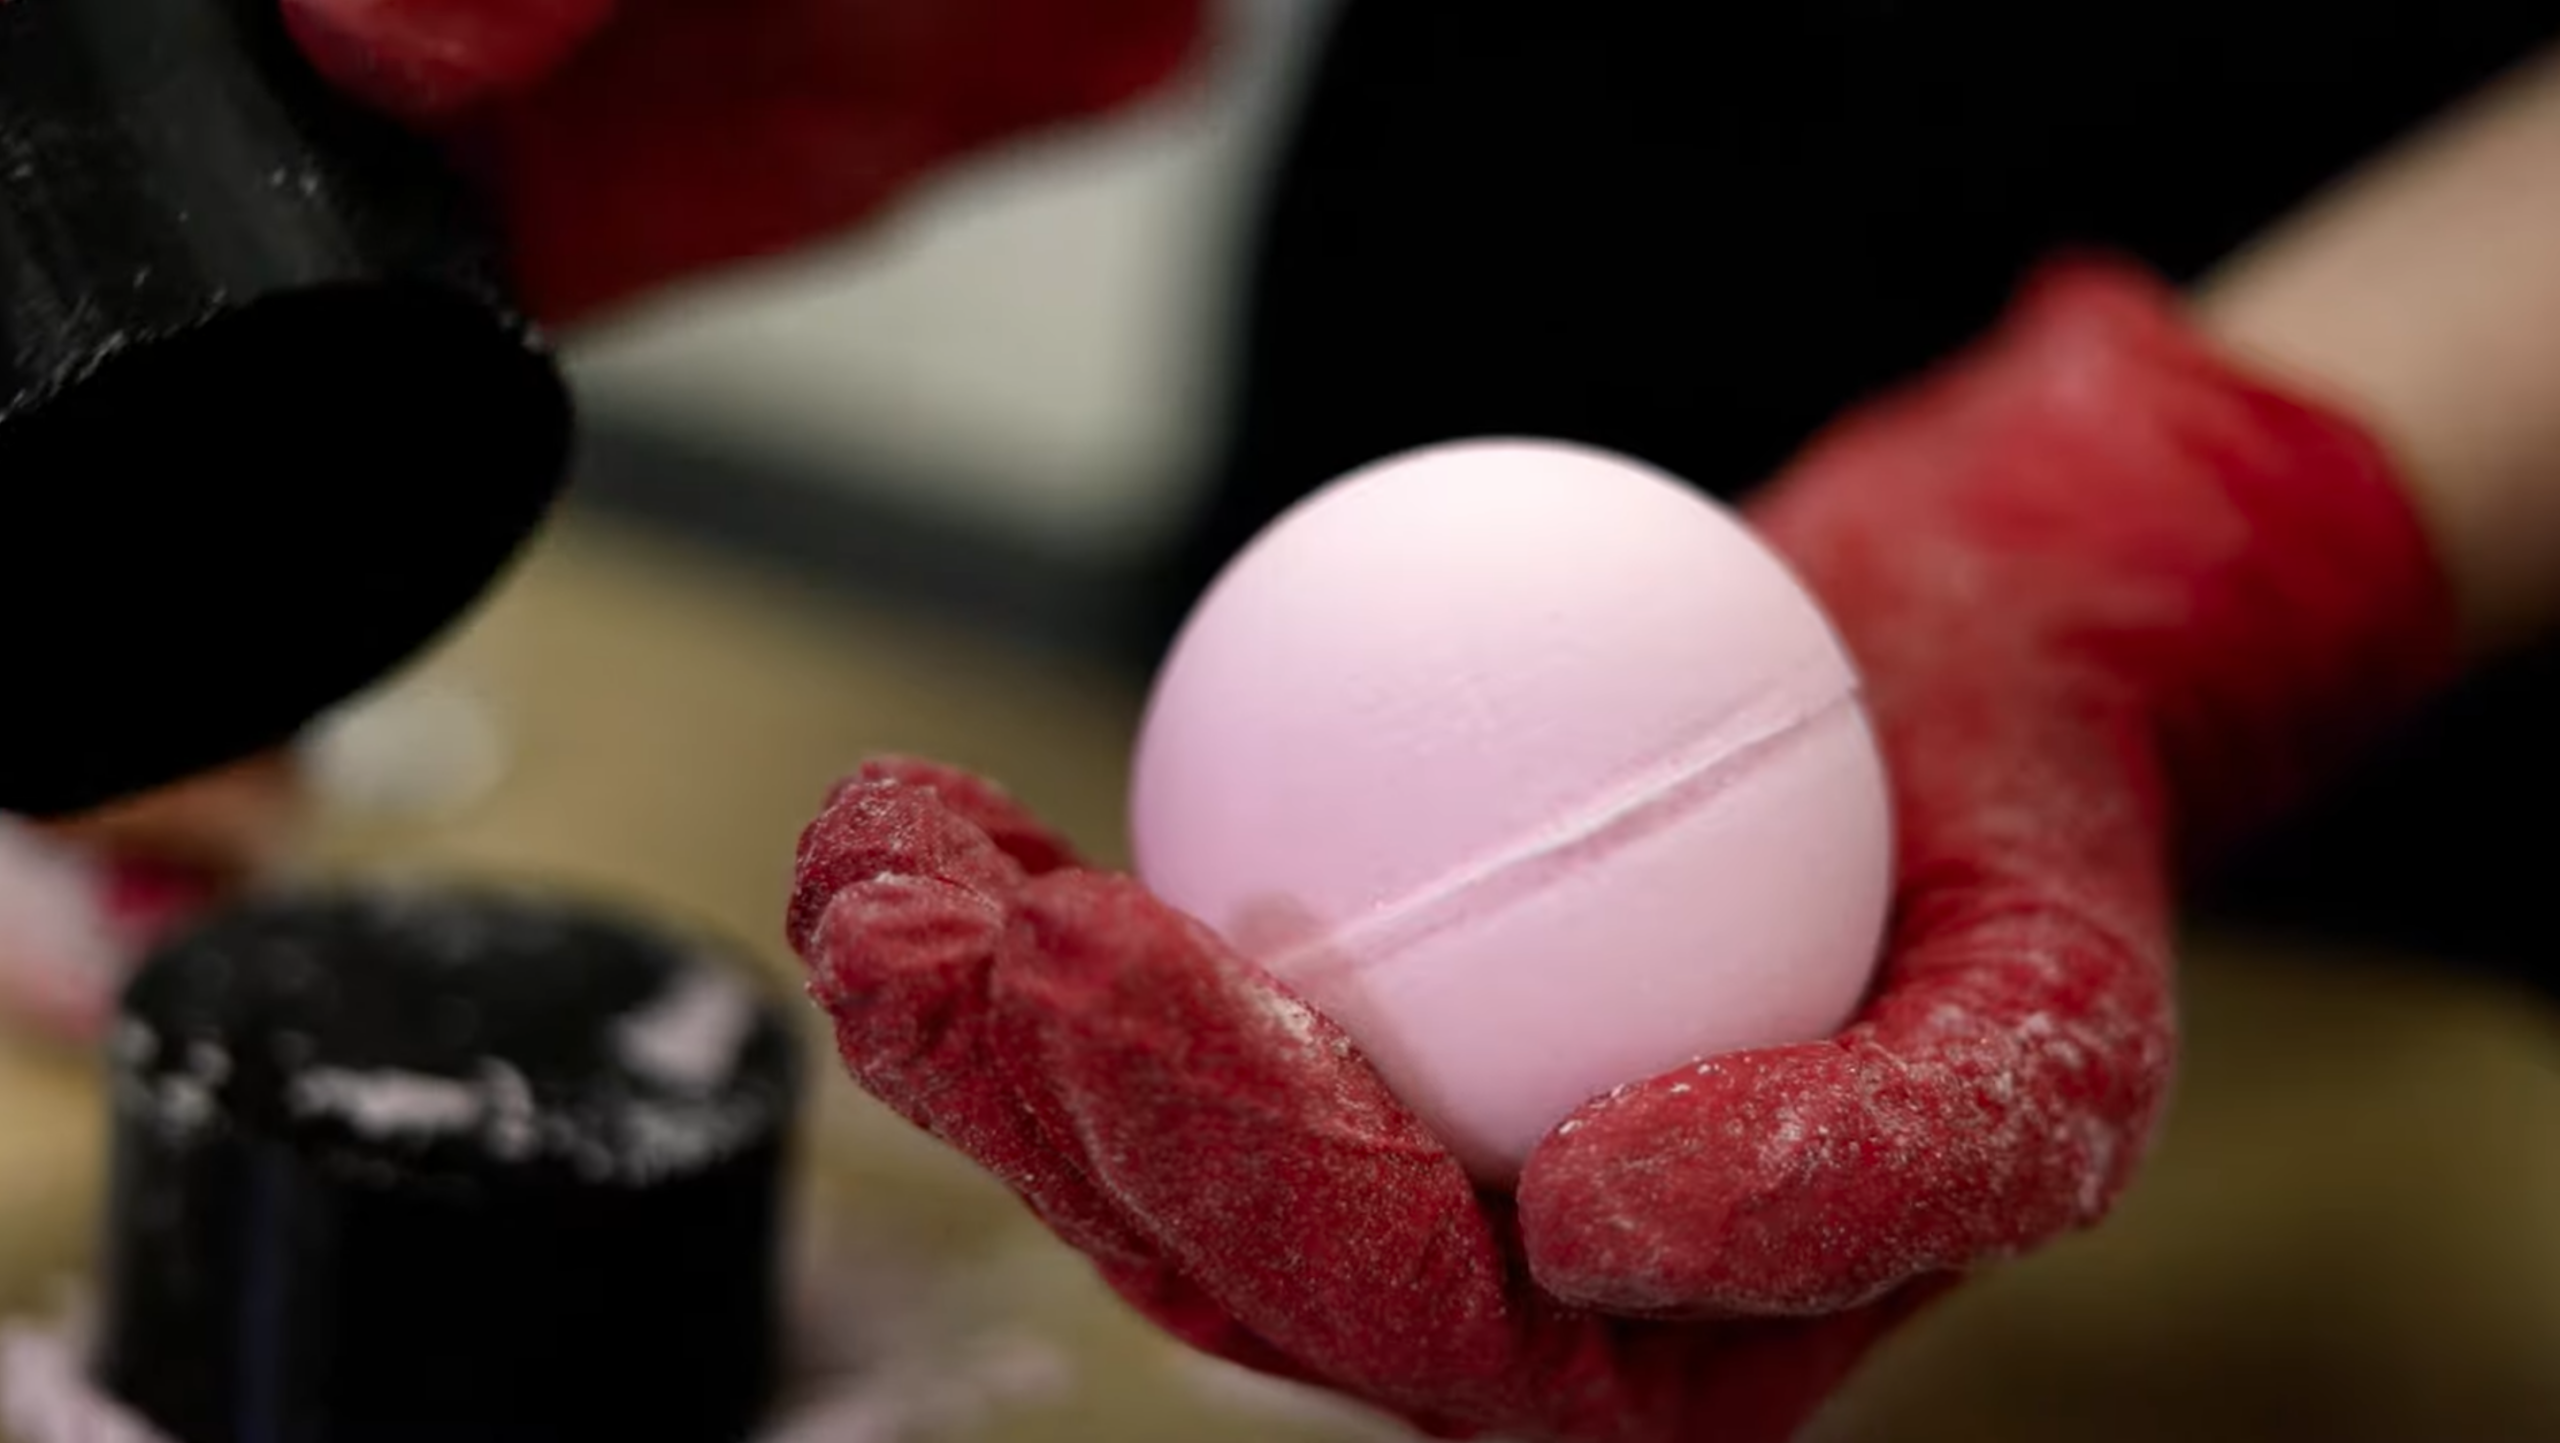
The Perfect Bath Bomb Texture
The ideal consistency is often described by makers as “damp sand that holds its shape when squeezed.” That’s your target every time.
When you press it into a mold, it should:
- Hold its shape firmly
- Not crumble or crack
- Release cleanly after setting
Once you learn this texture, you can troubleshoot almost any batch quickly.
Mixing Technique Matters More Than You Think
A lot of bath bomb issues don’t come from ingredients—they come from mixing.
Best practices:
- Fully mix all dry ingredients first
- Slowly introduce wet ingredients
- Stir continuously to prevent uneven activation
- Test consistency as you go
Uneven distribution is one of the biggest causes of batch failure.
Drying Time & Setting Your Bath Bombs Properly
Once molded, bath bombs need time to fully set and harden.
For best results:
- Leave in molds for several hours
- Store in a dry, low-humidity environment
- Avoid moving them too early
- Let them fully cure before packaging
Rushing this stage is one of the fastest ways to ruin a good batch.
Scaling Bath Bomb Production
Once you move beyond hobby making, consistency becomes everything.
Scaling bath bombs is less about making more—it’s about making them repeatable.
To scale effectively:
- Standardize your full formula
- Work in batch production, not single units
- Document adjustments for future reference
- Keep your environment as consistent as possible
- Use the same mixing and molding technique every time
The goal is to remove guesswork entirely.
Troubleshooting Checklist
Before you scrap a batch, check:
- Was the mixture too dry or too wet?
- Did you add liquids too quickly?
- Was everything mixed evenly?
- Did fragrance or oils affect consistency?
- Did you allow enough drying time?
Most problems come down to small adjustments—not complete reformulations.
Want to see this in action?
Watch our full DIY bath bomb tutorial on YouTube for a step-by-step breakdown of mixing, molding, and troubleshooting in real time.
And if you want a quick look at the process, check out our Instagram Reel where we show the bath bomb creation process and explain balance in real time!


